How to Winterize a Pool in 9 Steps
If you close (winterize) your pool the RIGHT way, you’ll open it clear in the spring. And you don’t have to hire an expensive company to do it for you. In this article, I’ll show you what supplies you need and the steps needed to properly winterize your pool (both inground and above ground). You can watch the video below or continue reading. But first, we have to answer this one question…
When Should You Close Your Pool For The Winter?
When your local outside temperatures consistently stay below 65°F (18°C), that’s a good time to close. Lower temperatures prevent algae from growing and can help the water stay clear.
On the other hand, if your off-season sees several warm days of 65°F (18°C) or more, you can test and balance the water chemistry on those occasional warm days throughout the offseason to help keep your water cleaner until it’s time to open.

This is the ultimate guide to keeping your pool sparkling clean throughout the year that contains everything you need to know about taking care of your pool the right way. Including saltwater pools.
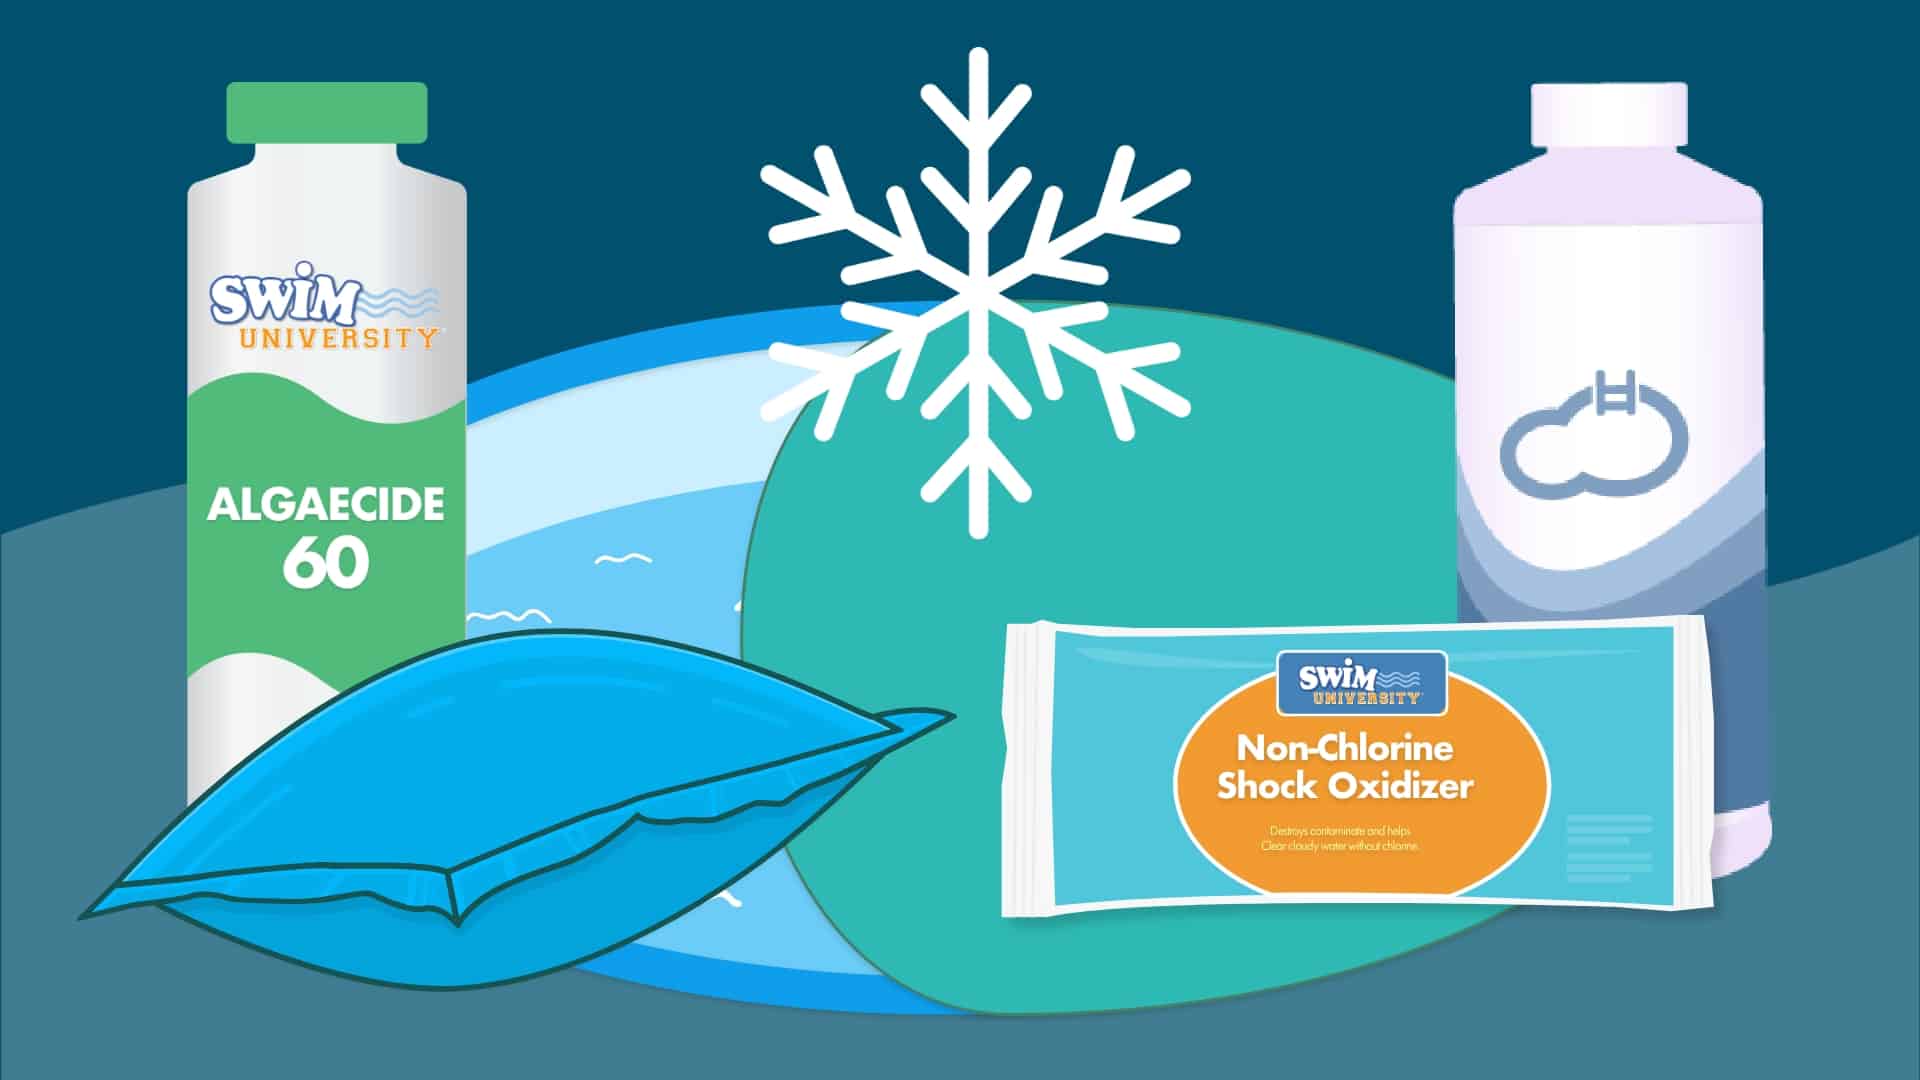
Supplies You’ll Need To Winterize Your Pool
The supplies you’ll need depend on your climate, what types of pool accessories you have, and whether you’ve been maintaining water chemistry right up until closing day—which makes the closing process much easier.
- Winter pool cover or safety cover (see step 9)
- Water tubes (unless you have an inground spring-secured safety cover)
- Rubber plugs (expansion) to block water from entering your inground plumbing or leaving your above-ground pool.
- Gizzmo or a skimmer plate for protecting your skimmer(s) from freezing.
- Air pillow (above ground only)
- An air compressor (inground only) to blow out the plumbing lines.
- A portable shop vac (wet/dry) is used to remove any standing water around the pool (mainly skimmers).
- A submersible pump is used to lower the water level and remove water from the cover during the winter.
- pH Increaser or Decreaser
- Alkalinity Increaser or baking soda
- Polyquat 60% Algaecide (Non-Copper)
- Chlorine Shock
- Metal Sequestrant (pool metal remover) to prevent staining over the winter.
But making sure you have everything on hand before you start will save you a last-minute trip to the pool store in the middle of the closing process.

Stop wasting time and money on confusing water chemistry and maintenance. Our effortless system guarantees to keep your pool balanced, sanitized, and crystal clear all year. Works for all pools, including saltwater.
1. Clean Your Pool
Use a pool brush attached to a telescoping pole to scrub your pool walls and floor, getting into the nooks and crannies as best you can. This will help kick up any sediment hanging around and disturb the beginnings of any algae spores. Manually vacuum all the stuff you kicked up while brushing. You can also use an automatic pool cleaner for mostly large debris.
If you have any symptoms of algae, use an algae brush (concrete pools only) and be especially thorough. This breaks up the algae so it can be vacuumed up. It also disturbs any blooms, so they’re more susceptible to the treatment chemicals you’ll be adding.
DO NOT close your pool while the water is green. It’ll also make your job clearing the pool in the spring harder. Check out our guide on how to clear a green pool in 24 hours.
2. Test the Water
You can test the pool water yourself with a test strip or test kit, or you can take a water sample to your local pool store.
The levels (pH, alkalinity, etc.) must be properly balanced, as this will help protect the pool from corrosion and scale build-up that can occur while it’s closed. Here are the proper chemistry levels before you close:
- pH: 7.2 to 7.8
- Alkalinity: 80 to 120 ppm (parts per million)
- Chlorine: 1 to 3 ppm
Need help balancing your pool water before you close? Here are links to our guides on how to raise pH and lower pH. And how to raise alkalinity and lower alkalinity.

Important: Make sure the chlorine level is below five parts per million (ppm). If it’s too high, it may destroy the other additives you put in before they have a chance to work.
3. Shock Your Pool With Chlorine
The night before—or even a few days before—closing and putting on the cover, shock your pool one last time. Run the pump overnight to distribute the shock throughout the pool and circulation system. Test your water the following day to make sure it’s balanced.
Important: It’s always best to shock your pool at night when the sun can’t gobble up your chlorine before it has time to work.

I always recommend shocking with calcium hypochlorite or dichlor chlorine shock instead of liquid chlorine because it’s easier to handle. But you can use any chlorine shock you want.
4. Add Winterizing Chemicals
Add one dose of polyquat 60% non-copper algaecide to prevent spore growth throughout the offseason. If your cover has a mesh panel or other way for dirt, leaves, and other debris to enter the water, use a double dose of algaecide.
You can also use this algaecide periodically throughout the winter to keep algae away if the weather warms up while your pool is closed.

If your water has high levels of metals (if it comes from a well, for example), add a Metal Remover when closing. This suspends any metals in the water so they can’t settle onto your pool surfaces, oxidize, and eventually cause stains.
What About Adding Pool Enzymes or a Winter Pill?
Adding enzymes is optional, but I recommend doing it as an insurance policy to clear water. Pool enzymes help reduce the burden of algaecide by breaking down organic contaminants, making it easier for chlorine to kill.
You can add liquid enzymes directly to the pool (and circulate) before closing. Or you can add a Winter Pill that contains both enzymes and a

This 4-in-1, slow-release treatment floats under your winter cover all season to help prevent scum, scale, stains, and cloudy water. Safe for all surfaces and filters.
5. Backwash and Clean the Filter and Pump
The last thing you want to do is leave a bunch of nasty debris and bacteria sitting in your filter all winter. Yuck. Get all that gunk out before you close so you start the next pool season with a nice, clean filter.
Remove it, wash it with pool filter cleaner or muriatic acid, then rinse it and allow it to dry thoroughly before you store it.
Use a cleaner made for sand filters, or backwash it thoroughly. Be sure to flip the valve back to filter after backwashing. Drain all water out of the pump, filter, and pool heater, if you have one. Toss the plugs into your skimmer basket for storage.
You can use a cleaner made for D.E. filters, or you can backwash the same way you’d backwash a sand filter.
6. Lower the Pool’s Water Level (Optional)
When you close your pool, how far down does the water level need to be lowered? Do you even need to lower it? The debate about lowering the water level is all about preventing freezing and cracking in your skimmer.
You can install a winter cover plate over your skimmer so you don’t have to drain your pool partially. In fact, keeping the water level at a normal height will be better for your winter cover. It keeps it from sagging in the middle and pulling on your pool walls, safety cover straps, or water bags and potentially ripping your cover. If you have an above-ground pool, make sure to remove the hose from the bottom of the skimmer.
Or you can drain and lower the water level 3-4 inches below the skimmer.
In addition to covering the skimmer or lowering the water level, you should plug it up with a Gizzmo or an empty 2-liter soda bottle and a rubber plug. These act as ice compensators. When water enters your skimmer and freezes, it’ll crack the plastic Gizzmo or bottle instead of your skimmer.

Screws into the bottom of the skimmer to absorb the expansion of winter freeze-up and is perfect for big, deep skimmers.
You still need to add an ice compensator in case the skimmers fill up with rainwater or snow melt. However, if your pool has a tile border, you will need to lower the water level at least four inches below the tile to protect it.
7. Blow Out The Water From Your Plumbing (Inground Only)
If you live in a warmer climate where the temperature doesn’t reach freezing or below, and you want to avoid blowing out your lines, you can use antifreeze.
If you live in a cold climate and opt to blow out the lines, you must remove every last bit of water from the lines, pump, and filter. This will prevent fractures caused by ice in the lines and equipment. Blowing out the lines also means you won’t need to add antifreeze.
Your pool plumbing is not built to withstand excess pressure, so purging the lines of water is a delicate process. Because it involves blasting air through the plumbing, you could inadvertently do severe damage. Blow out the lines only if you’re confident you know what you’re doing.
- Remove all the return fittings and skimmer baskets.
- Remove all the drain plugs from your filter system.
- Set the multiport valve to recirculate.
- Set the valve in front of your pump to the skimmer line.
- Attach your air compressor to the pump’s drain plug opening. You may need an adapter.
- Blow air through the system, watching for bubbles from the return lines and skimmer.
- Use a shop vac to remove the water being blown out of the skimmer until it’s dry.
- Insert a rubber plug or Gizzmo in the hole in the bottom of the skimmer.
- Install rubber plugs in each return line as you see air bubbles escape from them. If you live somewhere cold, you may need to use straight-pressure plugs in the return lines.
- Turn the valve in front of your pump to the main drain setting to move air in that direction.
- Watch for bubbles from the main drain in the deep end. Let it run for about a minute.
- Turn the pump valve back to the skimmer line, then shut off your air compressor.
- Put a plug inside the pump in case the valve leaks.
Note: I highly recommend hiring a pool pro for this step if you’re anything less than certain of your ability to do it yourself. Screw this part up, and you could be in for thousands of dollars in repairs.
What About Using Antifreeze In Your Pool?
If you blow out your lines properly, you shouldn’t have to worry about them freezing. But it can sometimes be challenging to get every drop of water out of the lines. Or maybe you’d rather take a quicker route. Either way, you can use antifreeze.
Choose one rated down to 10°F (-12°C). If your winter temperatures are regularly much colder than that, and you still prefer to use antifreeze, check the temperature rating on the product you choose to be sure it can adequately protect your pool under those harsher conditions.

It is safe for use in all potable and seasonal water lines. It protects systems down to -100° F, extreme cold weather, with a No Burst Guarantee.
Important: If you choose to use antifreeze, be sure to purchase the one designed for use in pools, not car antifreeze. The type made for pools is non-toxic, unlike the automotive version.

8. Remove All Pool Accessories
Leaving things installed around your pool, like ladders and rails, can cause three problems.
Prolonged exposure to chemicals during winter can damage the finishes on items like this. They may even rust, which means the rust will get into your pool, which means you have another problem to deal with when you open it.
Also, when you cover your pool, you want it completely covered. Unless you know a master custom pool cover maker who can create one that fits securely, even around ladders and rails, removing them will allow the cover to fit properly and better protect your pool.
Finally, if your pool is not securely and completely covered, it leaves room for debris, but more importantly, small animals and possibly even children to fall into the pool. Removing accessories ensures the pool is completely covered and can help prevent tragic accidents.
Once you’ve removed your accessories, clean and dry them thoroughly, then store them in a clean, dry place. Keep them out of direct sunlight to minimize potential weather damage.
Also, be sure to remove the fittings from the return lines, including the line for your automatic cleaner, if you have one. Then, pull out and clean your skimmer baskets. You can toss the fittings into the clean skimmer basket to help you keep track of them.
What About Salt Water Pools?
You’ll still need to blow out your lines, but you’ll also need to remove your salt water chlorinator, drain it, and store it. Flip the circuit breaker and make sure the power and gas to the heater are off. Then, store any controllers, robotic cleaners, and other electronics indoors for the winter.
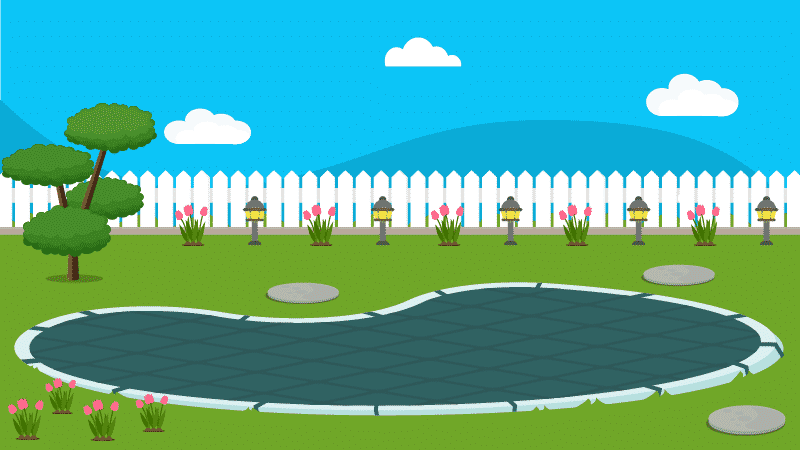
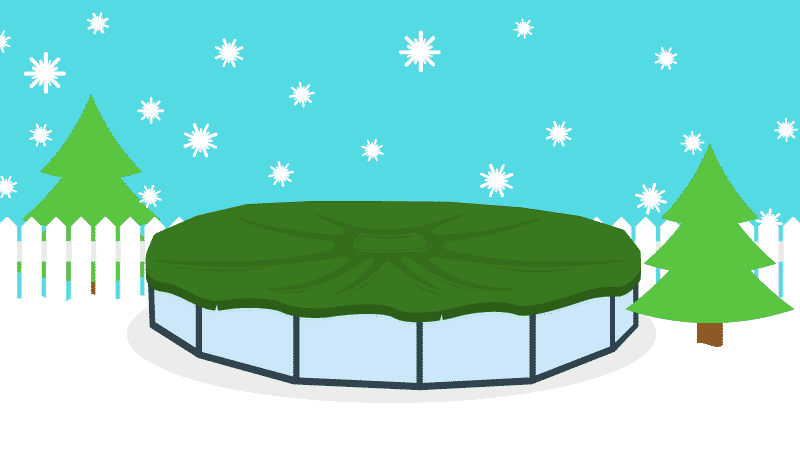
9. Install a Pool Winter Cover
You have a couple of choices for covering your pool in the offseason. The weather in your region and your budget will probably determine which type you choose.
Regular Winter Cover
This will protect your pool from contaminants and keep all the chemistry work you’ve done nicely under wraps. Use water tubes or pool cover weights to keep the water from sinking into your pool over time. They’ll also prevent gaps along the edges of your pool. The cover manufacturer’s instructions may suggest how many tubes to use, so read them carefully.
Be sure you have a pool cover pump to remove pooling water from the cover. This will protect the cover and any people or animals who could become trapped or drown in the pooled water.
Protect your pool cover by keeping it clean, but don’t use anything sharp like a shovel or rake. A regular push broom works well to remove leaves and even a few inches of snow at a time. You can also use a rubber broom with a squeegee to help remove water. Even though you don’t need to clean your pool daily when it’s closed, it’s good to check on the cover regularly.
Pool Safety Cover
A more expensive option than standard covers, a pool safety cover can help protect your pool from the elements while also keeping people and animals from falling into the water.
They’re often solid, but they’re also available in mesh and hybrid versions with a mesh panel to let water drain into the pool. If you use a mesh or hybrid safety cover, you may need to lower the pool water level again during the winter if it rains or snow melts into the pool.
Here’s a list of the best recommended inground pool winter covers.
Don’t Be Afraid to Hire a Pro
Even though it’s pretty easy to winterize a pool, especially if you’re a seasoned do-it-yourselfer, some parts aren’t so straightforward. Blowing out the lines can be tough to do correctly and is especially vital if you live somewhere with freezing winters.
Regardless of whether you handle every other aspect of pool care on your own, closing your pool for winter may be the one time of year you hire a pro. That’s totally okay! When you make sure your inground pool is closed properly, you’ll prevent freeze damage that can cost a fortune to repair, and re-opening your pool in the spring will be a breeze.