How to Open an Inground Pool in 13 Steps
It’s that time of year again! Pool season has arrived. The sun’s shining, and temperatures are rising. You could really go for a swim.
But there you are, standing on your patio, staring at a dirty pool cover, wondering what kind of horrors await you underneath it. Pool opening seems like so much work, doesn’t it? Don’t worry. Grab a friend and a few other essentials, and you’ll be back to backstroking in no time.
Getting Ready to Open Your Swimming Pool
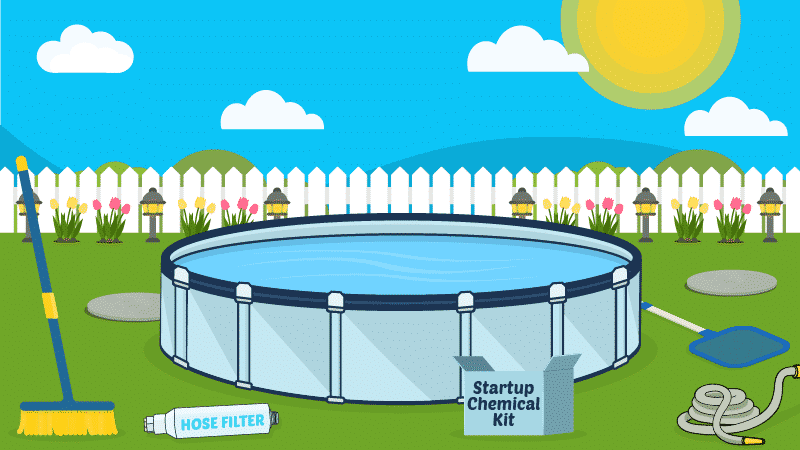
Before you begin, you’ll want to make sure you’ve got all the tools you need lined up poolside and ready to go. You’ll probably already have some of the items on hand, such as a garden hose, but you may need to pick up a few other things, most importantly, some protective gear.
Every year, thousands of pool owners end up in emergency rooms due to poisoning from pool chemicals. Most of those injuries occurred because people were not wearing protective gear when handling pool chemicals. So, when you’re stocking up on all your other supplies, don’t skip the safety gear. It matters.
Stop wasting time and money with confusing water chemistry and maintenance. Our effortless system guarantees to keep your pool balanced, sanitized, and crystal clear all year. Works for all pools including saltwater.
NOTE: The following links are affiliate links, which means if you click a link and make a purchase, we earn a commission at no additional cost to you. It helps us keep the lights on 💡
You’ll need:
- Pool cover pump
- Soft broom
- Winter cover cleaner or car wash soap
- Start-up chemical kit
- Pool gasket lubricant
- Thread seal tape
- Skimmer on a telescoping pole
- Garden hose
- Pool brush
- Safety goggles
- Chemical-resistant gloves
- Pool shock
- Test strips
- A friend to help
Start-Up Chemicals
Depending on the results of your water test, you may need a few pool chemicals in addition to shock to balance your water chemistry.
You may buy a start-up chemical kit that should include everything you need, or you can test your water and then buy only the chemicals your pool requires.
You may also need:
- Chlorine
- pH increaser
- pH decreaser
- Alkalinity increaser
- Calcium hardness increaser
- Metal sequestrant
- Water clarifier
- Algaecide
A fast-acting formula that drops cloudy water particles to the bottom of the pool so you can vacuum it out. Safe for all pools.
How to Open Your Inground Swimming Pool
You won’t need to wear protective gear through all these steps, so don’t put on your safety goggles just yet.
1. Get the Gunk Off Your Pool Cover
Use the soft broom to sweep away any dead leaves or other large debris from your winter cover. Next, use your pool cover pump to remove any standing water from your cover.
Some of these pumps can be a bit slow at removing water, while others will suck up debris and just about anything else that gets in their way. Know what your pool cover pump is capable of so you won’t overwork it.
Set it and forget it! The built-in iSwitch technology turns the pump on and off by sensing the presence of water and includes automatic freeze protection to prevent damage during the winter.
2. Whisk Away the Winter Pool Cover
Having an extra set of hands will be a big help here. You’ll need to lay it flat somewhere to clean it without getting cover cleaner into your pool water, and you’ll have to get it to that flat spot without dragging it over any rough surfaces.
Have your partner stand on the opposite side of the pool from you to help you lift and fold the cover back and forth on itself, like an accordion.
Pool opening is also a good time to inspect your cover to see how it fared over the winter. If it’s damaged, now’s the time to replace your pool cover so you have a new one waiting for you when you close your pool after the season. Not to mention, if it’s beyond help, you can skip the pool cover cleaning and storing. Win-win!
3. Clean and Store Your Pool Cover
With your cover folded up, have your friend help you move it to your yard and spread it out flat. That small step will help make your pool cover cleaning easier and go much more quickly. Apply pool cover cleaner or car wash soap and use a soft broom to scrub it gently. Avoid using any abrasive or sharp tools or harsh chemical cleaners, which could destroy your pool cover.
Rinse away all the cleaner or soap. Dry the cover with a towel or leaf blower before folding it up again. Store the cover inside a storage bag or heavy-duty container with a lid. And voilà! Your pool cover cleaning is done!
Important: Do not store your pool cover on the ground or the floor of your shed or garage. That’s just an invitation for bugs, rodents, and other pests to make their home in it over the summer. Then, when it comes time to close your pool, you’ll have to buy a new cover.
Tip: If you used water weights, empty them and allow them to dry completely before storing.
4. Skim the Pool
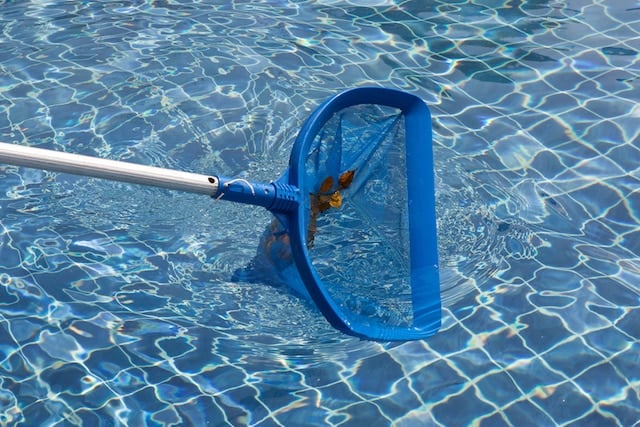
Use your skimmer to grab anything that fell from your cover during removal and any large debris that could clog your filtration system when you turn it back on. You’ll be doing more cleaning later, but getting all the big stuff out now will make all the other cleaning you do easier.
5. Remove Plugs and Ice Compensator
When you closed your inground swimming pool for the winter, you blew out the pipes and installed winterizing plugs to prevent water from getting back into them and freezing. (You did do that, right?) You’ll need to walk around the pool and remove all those plugs.
You should see some bubbles as the pool water flows back into the pipes. This is normal. Whether you used an ice compensator or a soda bottle, you’ll need to remove it and the winterizing plugs from your skimmer.
6. Reinstall the Chutes and Ladders
Do you have a pool ladder, diving board, step rails, slide, or other accessories you removed for the winter? At the end of pool season, reinstall all the items you removed.
Tip: This is a good time to lubricate bolts and grease your diving board hinges.
7. Just Add Water
You’ve probably lost a few inches of water over the season, even with a winter cover on your pool. While the cover does offer some protection from evaporation, its main purpose it to keep things out of your pool—not really to keep the water in it.
Bring your water level up to normal now to avoid needing to balance your water chemistry twice in this process. Water first, chemicals, and filtering after. Be sure to use a hose filter to prevent metals and other contaminants from getting into your pool.
Fill your pool or hot tub with this hose filter that'll filter your water so you can have a fresh start with water chemistry.
8. Set up and Run Your Filter and Pump
Reinstall the drain plugs in your pump and filter using thread seal tape. Lubricate any O-rings with pool gasket lubricant to protect them.
Use the same lubricant on your pump housing O-ring. If you see any cracks in that O-ring, replace it immediately to avoid sucking air into your pump. Your pool heater and chlorinator, if you have them, also have drain plugs.
Next, open your return side valves to be sure the water being pulled into your pump has somewhere to go. If you have a multiport valve, turn the handle to waste, and replace the air bleeder, sight glass, and pressure gauge. Fill the pump filter basket with water to ensure a quick prime.
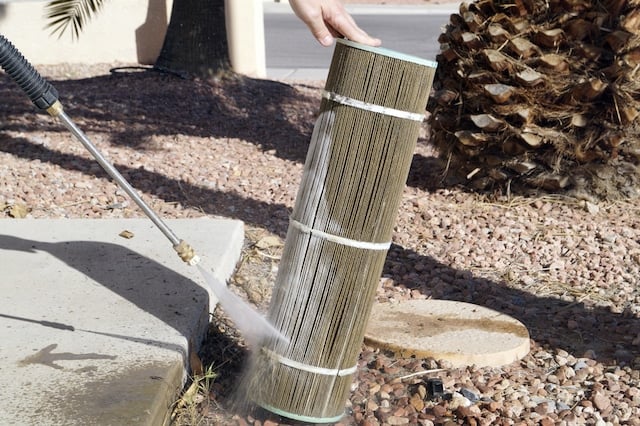
Flip your circuit breaker, then turn on your pump. Once water is flowing through, your pump is primed. Take a look at your filter. Wash or replace it, if necessary. Switch your multiport valve to filter.
If you used antifreeze when you closed your pool, this process will expel from the lines. Most of it will come out while the valve is turned to waste, but a little of it may still make it into your pool water. Don’t be concerned. The antifreeze made for pools is non-toxic, and the rest of it will be filtered out in subsequent filtering cycles.
Tip: If your pressure gauge shows a sudden spike, shut off your pump immediately. Check to make sure nothing is impeding water flow through your system. If necessary, you can prime the pool pump again.
9. Turn That Heavy Metal Down
It might seem counterintuitive, but while your pool water sat stagnant through the winter, metal levels may have increased.
You also probably just topped off your pool with tap water. We hope you used a hose filter to help keep those minerals out of your pool. But to avoid the staining and buildup caused by any metal in your pool water, add a metal sequestrant.
10. Balance the Water
Though you may use your usual test strips, may want to run a water sample over to your pool supply store when you open your swimming pool for the season. This will give you an accurate baseline to work from for the rest of the season.
Once you know what needs adjusting, start balancing your water. Remember, basic pool chemistry tells you to adjust alkalinity first, then pH, and finally calcium hardness. Avoid adding any chemicals you don’t need.

11. Brush and Vacuum the Pool
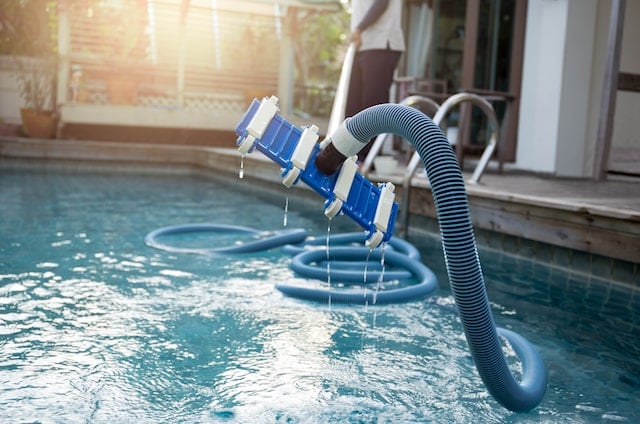
You don’t have to brush your pool at this point, but it can help to head off algae problems while helping your pool shock be more effective. If you’ve got the time, brush your pool surfaces. Next, vacuum your pool manually to pick up any sediment left on your pool floor.
12. Shock That Pool!
To kill algae spores, bacteria, and get your water sparkling clean, you’ll need pool shock. Effectively shocking your system requires you to achieve something called breakpoint chlorination, which you can calculate based on free chlorine levels from your water test.
We recommend double shocking at pool opening. To double shock, you’ll use two pounds of chlorine shock (for chlorine systems) per 10,000 gallons of water.
This fast-acting, quick-dissolving swimming pool shock kills bacteria, controls algae, and destroys organic contaminants in pools.
Before you add chlorine to your pool, you’ll want to don your safety goggles and chemical-resistant gloves. Avoid pouring shock into your filter basket as it may cause damage.
You can pour shock straight into your pool water, slowly, as you walk around the perimeter of your pool. You may also put some water into a 5-gallon bucket, then dissolve the shock in the water. Pour the solution straight into your pool.
Warning: Putting different types of shock into the same bucket, even if you’ve rinsed it between uses may be explosively dangerous—literally. If you use the bucket method, never use the same bucket for other chemicals.
13. Filter, Filter, and Filter Some More
All your hard work is done! Just leave your filtration system running for at least 24 hours to mix up the shock and filter remaining debris, dead algae spores, and any other gunk.
By the next day, your pool should be crystal clear and ready for swimmers. If it looks a little cloudy, that may be from the shock. You can either wait a little longer for it to dissipate, or add a dose of pool water clarifier to clear it more quickly.
Clears cloudy pool water by combining particles, making it easier for your filter to remove. Great for all pools. Also compatible with salt water pools.
Safety First and Always
To ensure everyone’s safety in and around your pool, take a few more steps before using your inground pool for the first time after you’ve opened it.
- Spray your pool deck down thoroughly with a hose to rinse away any chemicals that may have spilled where swimmers could step in them.
- Test your water again to ensure chlorine levels are appropriate and water chemistry is balanced. Swimmers could get sick or develop rashes if your water chemistry and sanitizer levels are wrong.
- Just like you should test your smoke and carbon monoxide detectors regularly, be sure to test all the safeguards around your pool area, such as gate locks and door alarms. If anything isn’t working properly, fix it as soon as possible.
- Put your winter cover somewhere animals or children cannot climb in and get trapped. Storing it in a strong container and out of sunlight will ensure it works effectively next winter, too.
- Store your chemicals safely, and out of reach of children and pets so they won’t become a health hazard. Keep them in a cool, dry place in their original packaging. Be sure the containers are closed properly.
The Pool is Open!
When you’re standing next to your pool wishing the debris and water on the pool cover would magically disappear, remember that with just a little work, by this time tomorrow, you could be swimming in crystal-clear water.
Open your swimming pool the right way, and you’ll set the stage for easy maintenance throughout the rest of the season.
Happy Swimming!
3 Ways We Can Help With Your Pool
- Pool Care Cheat Sheets (Free): Easy-to-use downloadable guides to help you keep track of taking care of your pool this year.
- The Pool Care Handbook: An illustrated guide to DIY pool care, including water chemistry, maintenance, troubleshooting, and more.
- The Pool Care Video Course: You’ll get 30+ step-by-step videos and a downloadable guide with everything you need to know about pool maintenance.


