How to Winterize An Above Ground Pool in 11 Steps
We’ve all been there. One day, you’re splashing around in your above ground pool, enjoying a seemingly endless summer. The next, you’re looking at an inbox full of back-to-school emails. Temperatures drop. Your weird neighbor, Rupert, starts wearing his “good” sweatpants on his morning run. There’s no doubt about it—summer’s coming to a close. And if you live somewhere with cold winters (or just want to close your pool for the season), you’re already thinking about how to winterize your above ground pool.
Sure, it’s a bummer when summer draws to a close. And nobody’s lining up for extra chores. But if you know how to properly close your above ground pool, you can get it done in a matter of hours and enjoy peace of mind while you wait for swim season on the other side of the thaw.
Why You Need to Know How to Winterize an Above Ground Pool
If you’re fortunate enough to live somewhere with mild winters, you might not have considered what a pool needs to weather a frigid off season, and you might not close it at all. But if you live in a climate where winter comes to call with frost, snow, and deep cold, winterizing your pool—preparing it for and protecting it against winter’s ravages—is essential to keeping your pool in good working order.
During the sunny days of summer, your pool is wide open and a tempting target for insects, leaves, branches, and the occasional lost critter. That’s no big deal during swim season, because you’re performing regular maintenance.
But in the winter, your pool is unused, and it’s not so rewarding to grab a skimmer and head out in the blizzard to hunt for debris.
If you leave your pool uncovered, you’ll have serious work ahead of you come spring. In addition to having to clean out your pool, you’ll need to rebalance the water, and maybe even deal with freeze damage.
Winterizing your pool minimizes your risk of contamination and cold damage to sensitive components. You’ll save time, money, and frustration. Really, what more incentive do you need?
When to Winterize Your Above Ground Pool
Depending on where you live, your closing times will vary. But as a rule, if temperatures typically drop, and stay, below 65°F (18°C) during the off season, wait until the temperature falls below that point to close.
Why? Algae, like orchids or William Faulkner novels, need heat to thrive, and cold temps help keep your water clear of infestation. Plus, leaving your pool open until the mercury drops gives you plenty of time to clean, test, and balance your pool before closing.
If you live in an area where the temperatures occasionally rise above 65°F (18°C) for a few days during the winter, you can take advantage of the warm spell to test and balance the water chemistry. These tweaks will help you keep your water clean and clear until spring returns.
Stop wasting time and money with confusing water chemistry and maintenance. Our effortless system guarantees to keep your pool balanced, sanitized, and crystal clear all year. Works for all pools including saltwater.
How to Do It: Just 11 Steps to Winterization
Frigid winters can be hard on just about any kind of swimming pool. With the right gear and preparation, you can soften the blow and make sure your above ground pool is ready to rock for years to come.
1. Gather Your Pool Closing Essentials
Before you winterize your above ground pool, make sure you’ve got the necessary supplies:
- Winterizing chemical kit or pH increaser, Alkalinity increaser, Calcium hardness increaser, Pool shock, and Algaecide
- Clarifying enzyme supplement (optional, but recommended)
- Above ground pool skimmer cover
- Expansion plugs
- Return line plugs
- Above ground pool winter cover
- Cover winch and cable
- Cover clips
- Water bags (if you have a walk-around deck)
- Swimming pool antifreeze (if necessary)
- Pool air pillow (a must-have!)
2. Clean Your Pool One Last Time
You wouldn’t put a coffee cup away dirty (at least, we hope not). So why do it to your pool? Head into the off season with a clear conscience. Before you winterize, clean your pool. Vacuum the entire pool, brush down the walls, and skim the surface.
A little prep now will save you from some potentially nasty surprises when you open your pool next spring. A clean pool makes it much easier to properly balance your water. It also ensures nothing is left behind to feed algae or mold that might develop during your pool’s long winter’s nap.
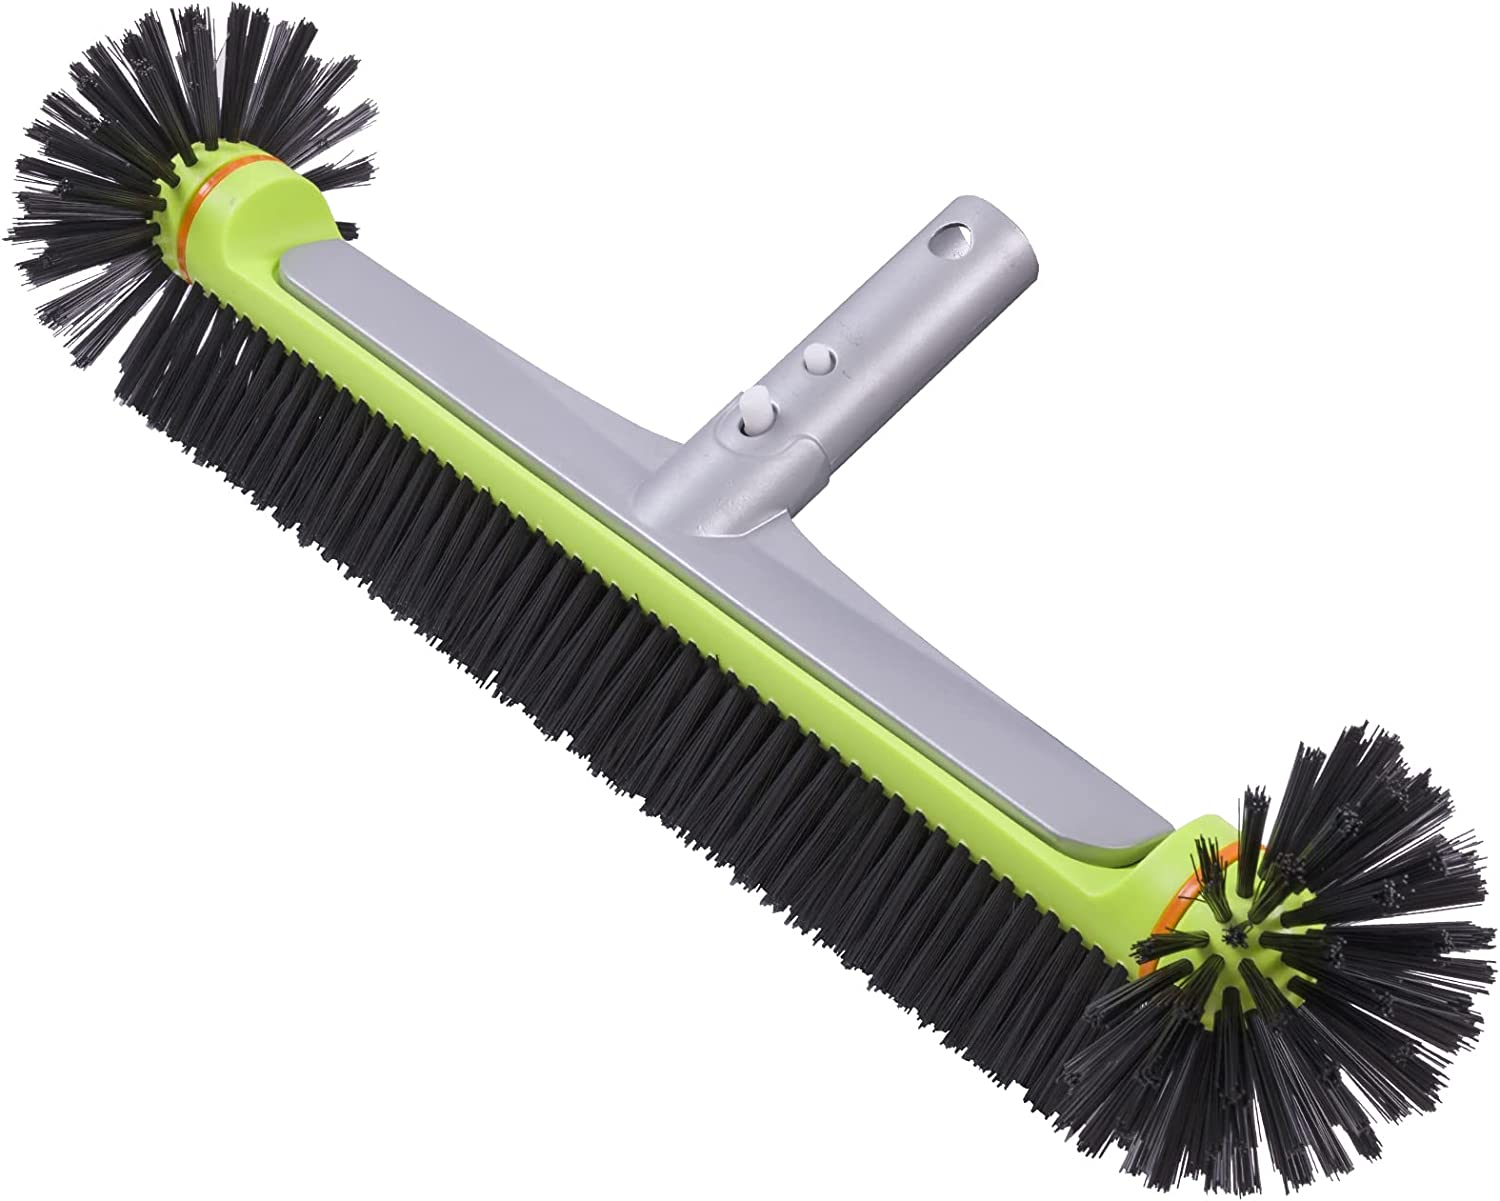
The wide pool brush with 360-degree reach helps clean hard-to-reach surfaces and tough crevices. Perfect for any type of pool, including vinyl liners, fiberglass, and painted concrete.
3. Test and Tweak Your Water for Winter
Open or closed, knowing what’s up with your water chemistry is essential to keeping your pool in tip-top condition. Take a few minutes to test your pool water before you begin closing.
You can test the water yourself with test strips or a liquid test kit for a little more accuracy. If you want the most accurate results possible, you can also take a water sample to your local pool store and have them test it for you.
Your goal is a pH between 7.4 and 7.6, and alkalinity between 100 parts per million (ppm) and 150 ppm, with 125 ppm being ideal. Also make sure the calcium hardness is between 175 ppm to 225 ppm, and that the chlorine is between 1 ppm and 3 ppm. If you use a different sanitizer, just make sure it’s at the proper level for whatever you’re using. Since you won’t be adjusting the water balance during the off season, it’s better to be on the high side of these ranges when you close your pool because they’ll naturally decrease over time.
This complete water testing kit helps keep your pool or hot tub clean and safe to swim in, with easy-to-follow color instructions and all the supplies you need in one box.
4. Add Winterizing Chemicals
Unlike Snow Miser or poor old Bucky Barnes, the chemicals you add to your above ground pool during closing are there to help during the cold season.
Why balance your water when winterizing an above ground pool? Balanced water is less likely to cause damage to your pool liner and other components.
Use a Winter Closing Kit
If you’re not in the mood to break out your lab coat and beakers, grab a winterizing chemical kit for your above ground pool. Follow the directions on the label, and you’ll be good to go.
Note: Some winter chemical kits don’t require you to run the filter when you add them. Double-check the directions and verify which type of kit you have. You might be able to skip a few steps when finishing your close.
Here’s a list of the best pool closing kits for you to choose from. It includes our expert recommendations too.
Adjust the Alkalinity
Alkalinity is the measure of carbonates, bicarbonates, hydroxides and other alkaline substances in water. You can think of it as pH’s trusty sidekick in the battle for balanced water.
You can tweak your water’s alkalinity in a couple of ways. Bump it up by adding a base, such an alkalinity increaser or sodium bicarbonate to your pool water. Knock it down by adding muriatic acid.
Don’t forget, the ideal range is for alkalinity is 100 to 150 ppm. And as with alkalinity, a higher level is better when you’re winterizing. And always remember to adjust alkalinity beforepH.
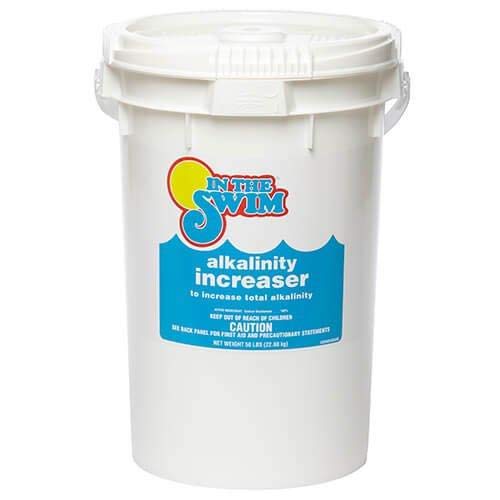
Perfect for raising total alkalinity and pH in your pool.
Make Sure the pH is Perfect
Your pool’s pH level is a measure of how acidic or basic the water is. The lower the level, the more acidic the water is. The higher it is, the more basic the water is.
If your water is acidic, add a base to lower the acidity. If your water’s too basic, add a pH increaser to bring it into proper balance.
Remember, you’re shooting for a pH in the range of 7.4 to 7.6. And as with alkalinity, a higher level is better when you’re winterizing.
This is a proven way to make the water less acidic when swimming in pools. This chemical helps maintain the right level of pH.
Zero in on calcium hardness
A frozen pool might be the ultimate in “hard water,” but it’s calcium hardness we’re worried about. Hard water deposits calcium in your pool and plumbing, forming an unsightly, crusty build-up over time.
Conversely, if your water is too soft, it will try to draw the calcium it needs from inside the pool, which can damage tiled pools in the process by feasting on the plaster and grout. Too-soft water can also corrode metal.
Plaster loss might not be a concern for above ground pools with vinyl liners, but avoiding metal damage definitely is.
If your water’s too hard, you can purchase chemicals to lower the hardness, or just dilute your pool water with fresh water that isn’t hard. Water too soft? You can boost the level by adding a calcium hardness increaser or simple calcium chloride.
The ideal calcium hardness range is 175 ppm to 225 ppm, or 200 ppm to 275 ppm if you have a concrete or plaster pool.
Adding calcium hardness to your pool water will protect and extend the life of your pool walls including vinyl, fiberglass, and concrete.
Shock The Pool Before You Close
Sure, you could whisper a dark secret into the filter or perform the lambada, but that’s not the kind of shock you’re after. Add pool shock to power up your sanitizer for the winter. Consult the directions for each to make sure you’re adding the right amount for your pool’s capacity.
Since you’re closing the pool, you can use a fast-dissolving shock before you put the cover on instead of using a typical calcium hypochlorite shock that takes anywhere from 8 to 24 hours to work.
Tip: If you’d rather use regular shock, just make sure you add it to the pool the night before you want to close it so the shock has time to work its magic.
This fast-acting, quick-dissolving swimming pool shock kills bacteria, controls algae, and destroys organic contaminants in pools.
Add a Dash of Winter Algaecide
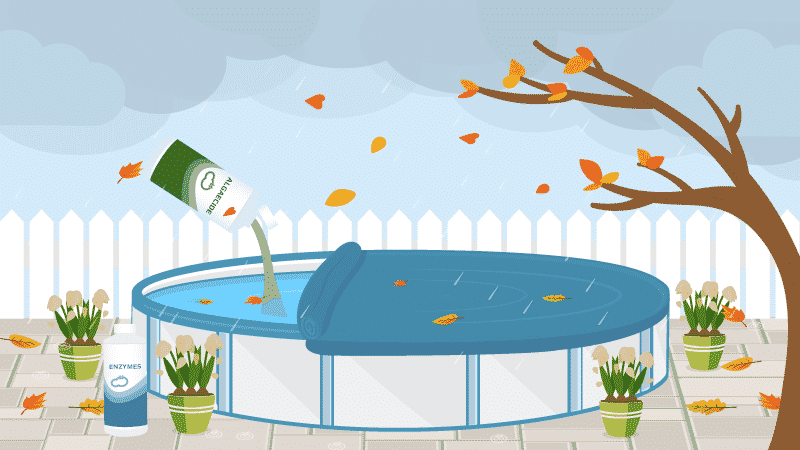
While it’s completely optional, you can add an algaecide to your pool just before closing it to keep algae from invading over the winter. Follow the directions on the back of the package for the proper dose (usually the same dose recommended when starting the pool for the first time).
You can also add a clarifying enzyme treatment to further reduce algae growth, liner stains, and contaminant build-up. This comes in either a bottle or a convenient ball or “pill” you puncture and add to the water, where they release their payload all winter to help you greet spring with a clear pool.
If you’ve struggled with a green, murky pool at opening in the past, or want to avoid one in the future, these little supplements can help immensely.
A copper-free algaecide to help prevent your pool from turning green.
5. Clear and Store the Lines
Just like the plumbing in your house, your pool lines can be damaged by ice expansion. Even if winters are mild in your area, clearing, removing, and storing the lines will make for easier setup next spring.
Simply disconnect the lines, allow all the water to run out, let them air dry, then store them in a dry place out of direct sunlight. Letting them dry is crucial unless you want to find mold in them next season.
6. Protect Your Skimmer
You have a couple of options when you’re winterizing your skimmer. The first step is to remove the skimmer basket and store it somewhere safe and dry for the winter.
You can then decide whether you’d like to cover your skimmer for the season or not. A winter skimmer cover is a plate that covers the entire skimmer, sealing out the elements. If you use one of these, you won’t have to drain your pool below the skimmer line, saving you a bit of time and hassle.
If you choose not to cover your skimmer, keep an eye on your skimmer during the winter to make sure water can drain out if it rains. Keep the bottom of the skimmer free and clear—don’t plug it up.
Note: If water accumulates in your skimmer over the winter and then freezes, the expanding ice cause your skimmer to crack. Also, if the snow or water load is too great, the weight could compromise your skimmer wall. If you get a heapin’ helpin’ of precipitation during the winter, a skimmer cover can save you big headaches down the road.
We recommend using a skimmer plate when winterizing your pool to prevent water from entering your plastic skimmer, freezing, and cracking. This is a Tupperware-like cover that's easy to take on and off when needed.
7. Winterize The Filter and Pump
One of the lesser pool closing concerns is packing away the filter and pump. It’s a pretty straightforward process.
The Pump
Completely remove all drain plugs to drain and remove the pool pump, chlorinator (if you have one), and all the hoses. Store all the drain plugs (including the ones from the filter) in the pump basket so that you keep them all together and you won’t have to go hunting for them in the spring. Keep the pump, chlorinator, and hoses indoors to prolong their lives.
The Filter
The method you use for winterizing your above ground pool will depend on which type of filter you have.
Sand: Set your multiport valve to “Winterize,” and remove the drain plug at the bottom to allow the filter to drain completely. If your multiport valve has a bleeder valve and a sight glass, remove those too, and store them in the pump basket for easy retrieval next season.
Bring your filter indoors for winter storage. If the weight of the sand makes this too difficult, you can leave it outside if you remove all the drain plugs. With the plugs removed, freezing water or condensation that builds up inside the filter tank won’t crack it.
Diatomaceous Earth (D.E.): Drain it, then rinse off the grids (or fingers) with a hose to remove excess D.E. Leave the valves open.
Cartridge Drain it, then rinse off the cartridge with a hose. Leave the valves open, and store the cartridge indoors for the winter.
Note: Moving your hardware indoors after you disconnect it really is the best option. It extends your gear’s useful life and protects it from damage. Protect your investment and bring your filter, pump, chlorinator, heater, and any other equipment in from the cold.
If You Have a Salt Water Pool …
If your pool uses a salt water system, switch the chlorine generator to the “winter” setting, if it has one. If it doesn’t, most chlorine generators have a removable electrolytic cell you can access by unscrewing the end caps. Remove the cell, or your entire salt system if you prefer, and store it inside for the winter.
Note: Take a few moments to clean the cell before storing. It’ll prolong its life and help reduce the risk of hardware problems when it’s time to reopen your pool.
8. Clean and Stash Your Accessories
When you’re closing your pool for the winter, don’t overlook your above ground pool ladder, toys, and any other accessories you may have. Leaving them in the pool can damage the items or, even worse, your pool. They could puncture the lining or start to rust. Corroded metal can contaminate your water and cause serious hardware problems.
Gather up all your accessories, then give them a good cleaning with a multi-purpose pool surface cleaner, and let them dry. Then store them in a clean, dry place, away from direct sunlight, until spring.
9. Lower the Pool Water (If Necessary)
Do you need to drain any water when winterizing an above ground pool? The answer hinges on how you protect your skimmer during the winter. If you’re concerned about freezing and cracking, and don’t use a winter skimmer cover plate, then you should drain the water level below the skimmer and returns.
If you do use a winter skimmer plate, simply remove the hose from your skimmer so it can drain properly, and install the plate, and you won’t have to drain your pool. Keeping the water level at its normal level is better for your winter cover.
How? If you have a solid cover, draining the water below the return lines can put added pressure on your cover when rain water and snow collect on top. You’ll need to keep draining water off the cover with a pump or siphon to protect it from damage.
Important: Never drain an above ground pool completely when winterizing. Your vinyl liner can dry out, shortening its life considerably.
10. Install the Pool Pillow
Knowing how to close an above ground pool means mastering the mystical art of the inflatable. In cold climates, placing a pool air pillow—also known as an ice compensator because it compensates for the pressure of the snow and ice on top of the cover—under the cover protects the sides of the cover and the walls of your pool from damage.
Even if you don’t live in a cold climate but you close and cover your pool, you can use an air pillow to keep water and debris off to the side of the pool for an easy spring clean-up.
The secret to winterizing success lies in inflating the air pillow to around 50% or 60% of its capacity. This allows the pillow to compress without immediately popping after the first substantial snowfall.
Blow up the air pillow and place it in the middle of the pool. You can use a thin rope to secure it to either side of the pool so that it stays in the middle, or use an accessory designed to center your pillow automatically. Some pillows also come with built-in grommets to allow you to secure them on all four corners for easy centering.
Note: While you don’t absolutely need the pillow to stay centered all winter, doing so protects your pool cover and walls from ice more effectively.
You can prolong the life of your pool pillows by sealing the seams and valves with duct tape once you’ve inflated the pillows. This will reduce air loss due to leaks and bolster the pillows’ strength.
11. Install the Pool Cover
Almost done! Place the pool cover over your pool—and the air pillow—and secure it by using the cable and winch, or a combination of winter cover clips and a cable.
Sometimes, more really is more. A combination of winter cover clips and a cable and winch will ensure a snug fit and give you greater peace of mind. If your pool has a walk-around deck, you can also add water bags to help secure your cover.
Don’t use bricks, stones, stray elephants, or anything else that might damage your liner if it were to fall into the pool. Also, here’s a list of the best recommended above ground pool winter covers.
Throughout the winter, keep an eye on your cover and do your best to keep it dry. We recommend buying an above ground pool cover pump to help remove excess water and keep your pool cover in good shape.
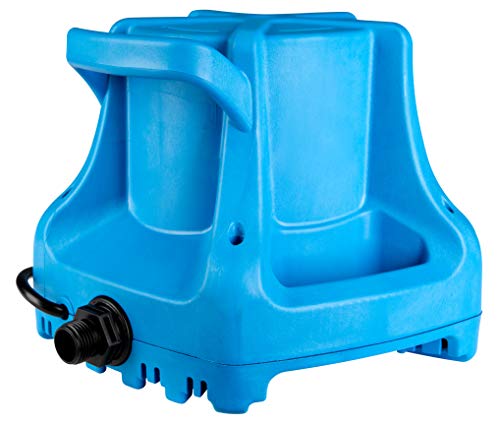
This lightweight pool cover pump removes standing water from above ground pool covers. Includes a removable intake screen for easy cleaning and maintenance, 3/4-inch garden hose connection, and a 550-gallon per hour flow rate.
Your Winterizing Worries are a Thing of the Past
Your pool is cleaner than Mr. Monk’s kitchen. Your water is balanced, pristine, and sanitary. Your hardware is safe, dry, and secure. And your pool is snuggled up with a pillow and blankie. Well, y’know, kinda. Congratulations, grasshopper—the arcane secrets of how to winterize an above ground pool are now yours to command.
There’ll be many more years of fun in the sun ahead. But for now, you can rest easy, knowing your pool is prepared for even the worst winter can throw at it.
Happy Closing!
3 Ways We Can Help With Your Pool
- Pool Care Cheat Sheets (Free): Easy-to-use downloadable guides to help you keep track of taking care of your pool this year.
- The Pool Care Handbook: An illustrated guide to DIY pool care, including water chemistry, maintenance, troubleshooting, and more.
- The Pool Care Video Course: You’ll get 30+ step-by-step videos and a downloadable guide with everything you need to know about pool maintenance.


